Word: Headers and Footers

GCFGlobal Logo

The header is a section of the document that appears in the top margin, while the footer is a section of the document that appears in the bottom margin. Headers and footers generally contain additional information such as page numbers, dates, an author's name, and footnotes, which can help keep longer documents organized and make them easier to read. Text entered in the header or footer will appear on each page of the document.

Watch the video below to learn more about headers and footers in Word.

To create a header or footer:

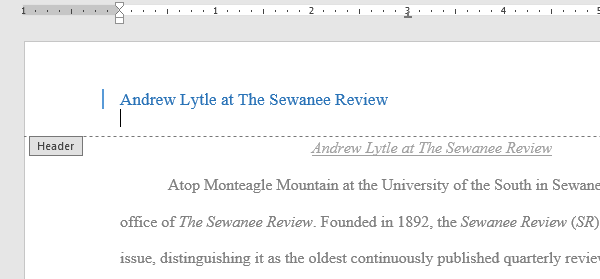
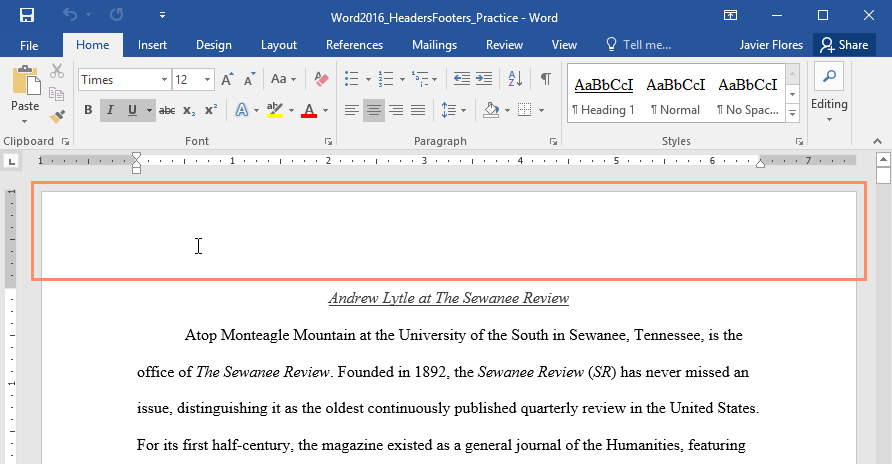
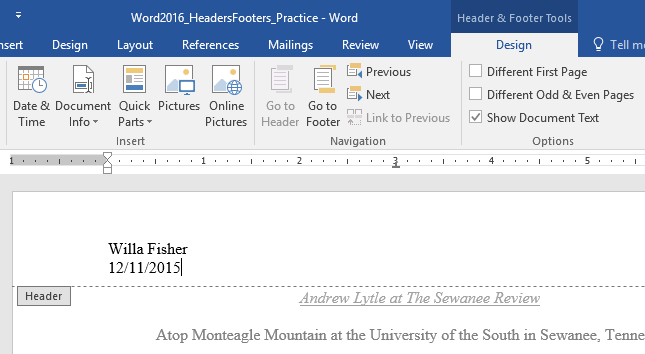
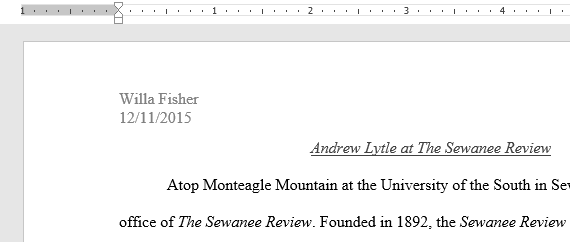
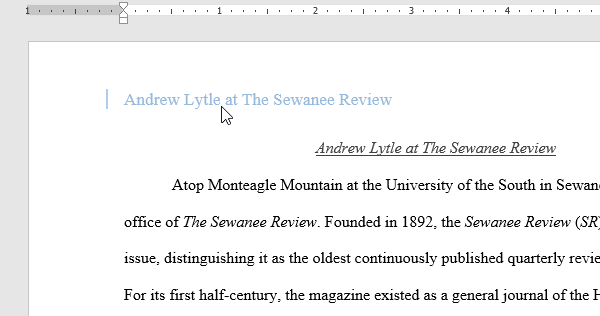
In our example, we want to display the author's name at the top of each page, so we'll place it in the header.

    Double-click anywhere on the top or bottom margin of your document. In our example, we'll double-click the top margin.

Double-clicking on the header

The open header

Typing text into a header

Clicking Close Header and Footer

The finished header

To insert a preset header or footer:

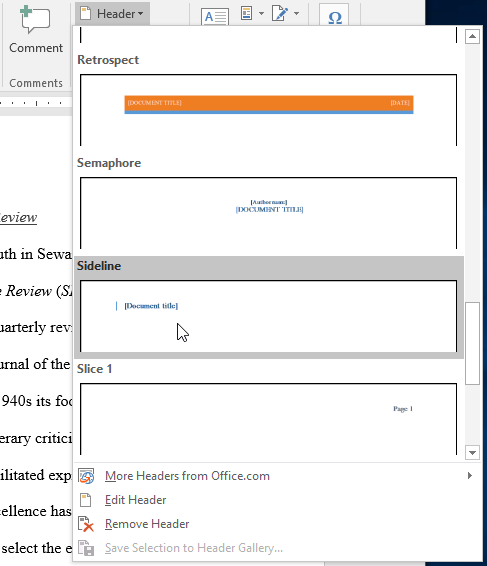
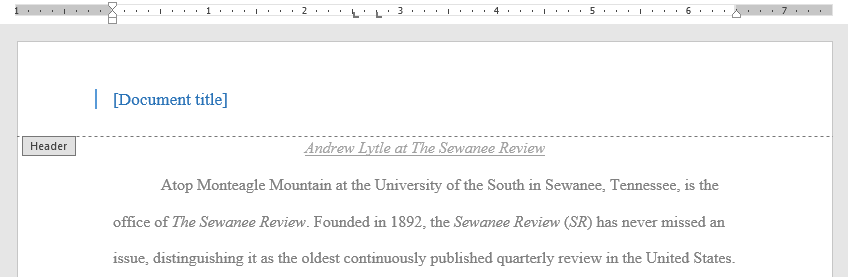
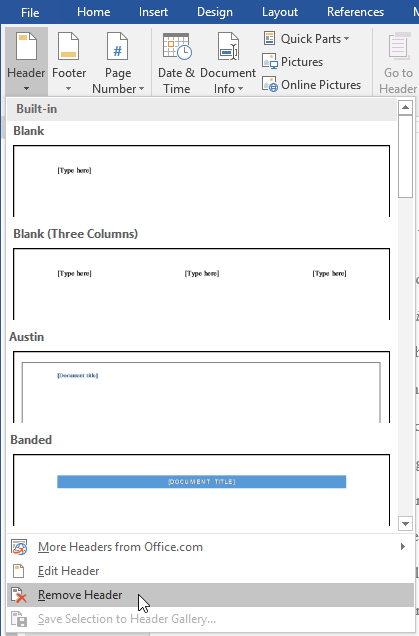
Word has a variety of preset headers and footers you can use to enhance your document's design and layout. In our example, we'll add a preset header to our document.

    Select the Insert tab, then click the Header or Footer command. In our example, we'll click the Header command.

Clicking the Header command

Selecting a preset header

Content Control fields

Editing a Content Control field

Closing the Header and Footer

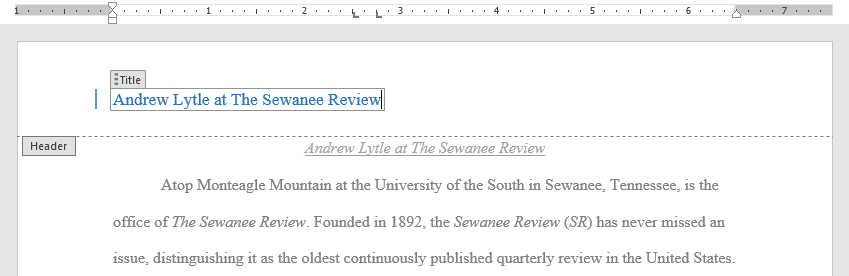
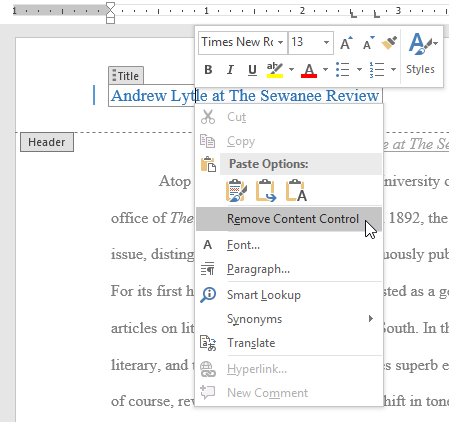
If you want to delete a Content Control field, right-click it and select Remove Content Control from the menu that appears.

Removing a Content Control field

Editing headers and footers

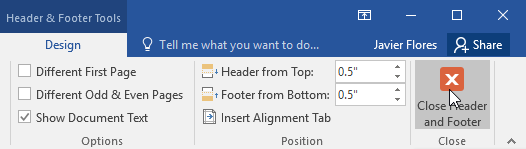
After you close the header or footer, it will still be visible, but it will be locked. Simply double-click a header or footer to unlock it, which will allow you to edit it.

Opening a header

Design tab options

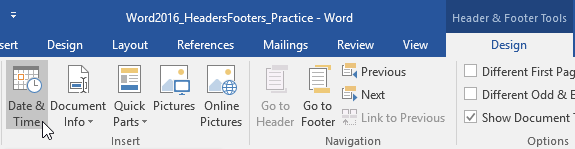
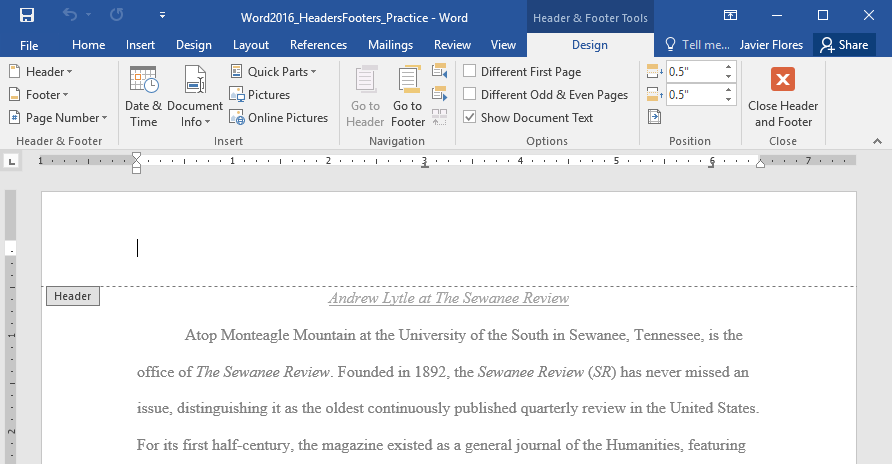
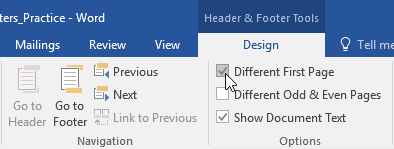
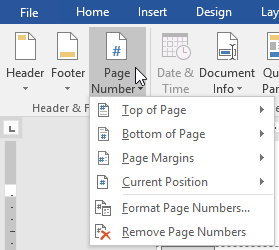
When your document's header and footer are unlocked, the Design tab will appear on the right side of the Ribbon, giving you various editing options:

Hiding the first page header and footer

Removing the header

Page numbers

Insert group on the Ribbon

To insert the date or time into a header or footer:

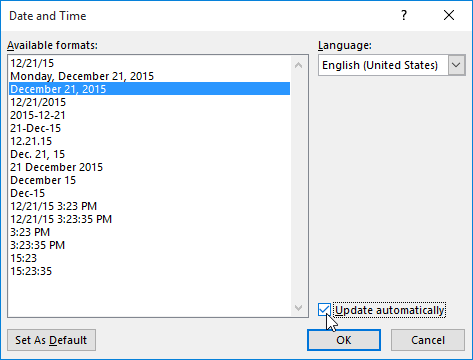
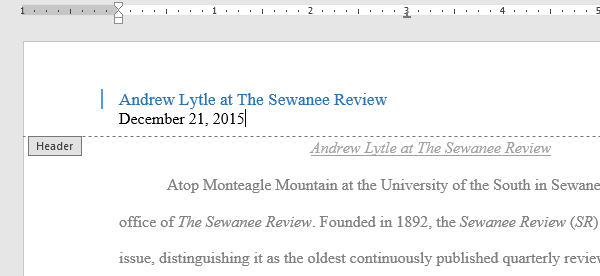
Sometimes it's helpful to include the date or time in the header or footer. For example, you may want your document to show the date when it was created.

On the other hand, you may want to show the date when it was printed, which you can do by setting it to update automatically. This is useful if you frequently update and print a document because you'll always be able to tell which version is the most recent.

    Double-click anywhere on the header or footer to unlock it. Place the insertion point where you want the date or time to appear. In our example, we'll place the insertion point on the line below the author's name.

Placing the insertion point in the unlocked header

Clicking the Date & Time command

Selecting a date option

The date in the header

Challenge!

  1. Open our practice document. If you've already downloaded our practice document to follow along with the lesson, be sure to download a fresh copy by clicking the link in this step.
  2. Open the header.
  3. Choose Align Right on the Home tab and type your name.
  4. Below your name, use the Date & Time command on the Design tab and insert the date using whatever format you want.
  5. In the footer section, insert the preset footer Grid. If your version of Word doesn't have a Grid preset, you can choose any available preset.
  6. Close the header and footer.
  7. When you're finished, your page should look something like this: